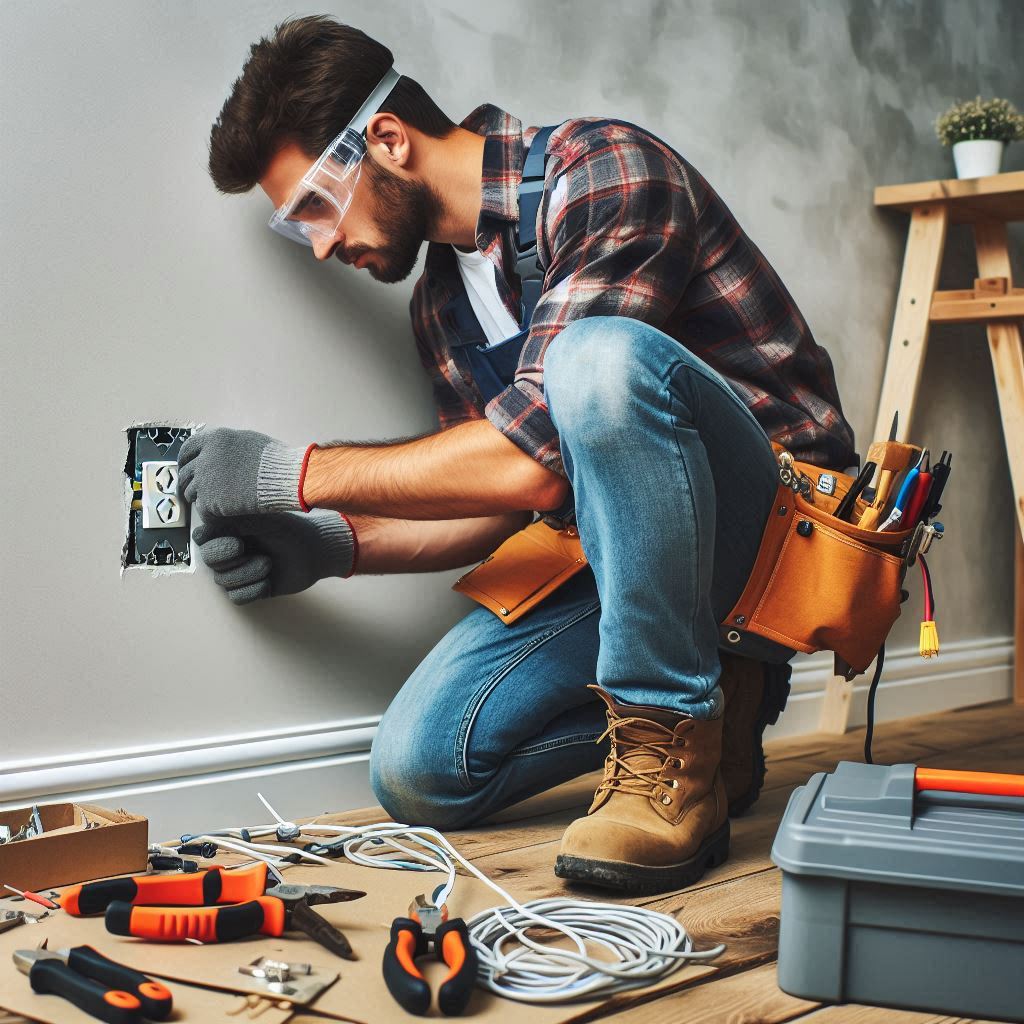
Installing electrical outlets and switches is a common home improvement project that can enhance convenience and functionality. However, it is crucial to follow proper safety protocols to prevent electrical hazards. This guide will walk you through the steps to safely install electrical outlets and switches in your home.

1. Gather Necessary Tools and Materials
Before starting your project, gather the necessary tools and materials:
- Tools:
- Screwdriver (flathead and Phillips)
- Wire stripper
- Voltage tester
- Drill (if installing new boxes)
- Measuring tape
- Materials:
- Electrical outlet or switch
- Electrical box
- Wire (Romex or individual conductors, as per local code)
- Screws and anchors (if necessary)
- Electrical tape
2. Turn Off the Power
Safety is the top priority when working with electricity. Before beginning any work:
- Turn off the Power: Locate your home’s circuit breaker panel and switch off the circuit that powers the outlet or switch you’ll be installing.
- Verify Power is Off: Use a voltage tester to ensure that the power is off at the outlet or switch location.
3. Install the Electrical Box
If you are installing a new outlet or switch, you will need to install an electrical box:
- Choose the Right Box: Select an appropriate electrical box based on the type of installation (new or replacement).
- Mount the Box: Use screws or nails to secure the box to a stud or wall anchor. Ensure it’s flush with the wall surface.
4. Run Electrical Wiring
When installing a new outlet or switch, you’ll need to run electrical wiring to the location:
- Select the Right Wire: Use the appropriate gauge wire (typically 12 or 14 gauge for residential circuits) as per local codes.
- Drill Holes: If running wires through walls, drill holes in the studs to route the wiring.
- Secure Wiring: Use cable staples to secure the wire to the framing members, ensuring it’s not pinched or damaged.
5. Connect the Wires
Once the wiring is in place, it’s time to connect the wires to the outlet or switch:
- Identify Wires:
- Hot Wire (Black or Red): Connects to the brass terminal.
- Neutral Wire (White): Connects to the silver terminal.
- Ground Wire (Green or Bare): Connects to the green terminal or ground screw.
- Make Connections:
- Strip about 3/4 inch of insulation from each wire using a wire stripper.
- Twist the wire ends around the corresponding terminals or insert them into backstab holes, then secure them tightly.
6. Mount the Outlet or Switch
After making the connections:
- Push Wires Back into the Box: Carefully tuck the wires back into the electrical box without crimping them.
- Attach the Outlet or Switch: Secure it to the box using screws, ensuring it’s flush with the wall.
7. Install the Cover Plate
Once the outlet or switch is mounted:
- Install the Cover Plate: Use screws to attach the cover plate securely over the outlet or switch for a polished look.
8. Restore Power and Test
Before using the new outlet or switch, follow these final steps:
- Restore Power: Turn the circuit breaker back on.
- Test the Installation: Use a voltage tester or plug in a device to ensure the outlet works correctly.
9. Troubleshooting
If the outlet or switch does not work:
- Check Connections: Turn off the power and double-check all wire connections to ensure they are secure and correctly placed.
- Inspect Circuit Breaker: Ensure the circuit breaker hasn’t tripped and is functioning properly.
Conclusion
Installing electrical outlets and switches can be a straightforward project if done safely and correctly. By following the steps outlined in this guide, homeowners can enhance their living spaces while ensuring electrical safety. If in doubt, consult a licensed electrician for assistance with electrical installations.


